
Linking the DJI Phantom 4 Pro V2.0 to the remote controller is a breeze with this Heliguy™.
Once you've successfully linked your controller to the DJI Phantom 4 you'll be able to start flying.
Grab your controller and DJI Phantom 4 V2.0 to start this fast tutorial and get flying today.
- Connect Device to USB

Connect the device to the USB cable.
- Connect USB to Remote Controller
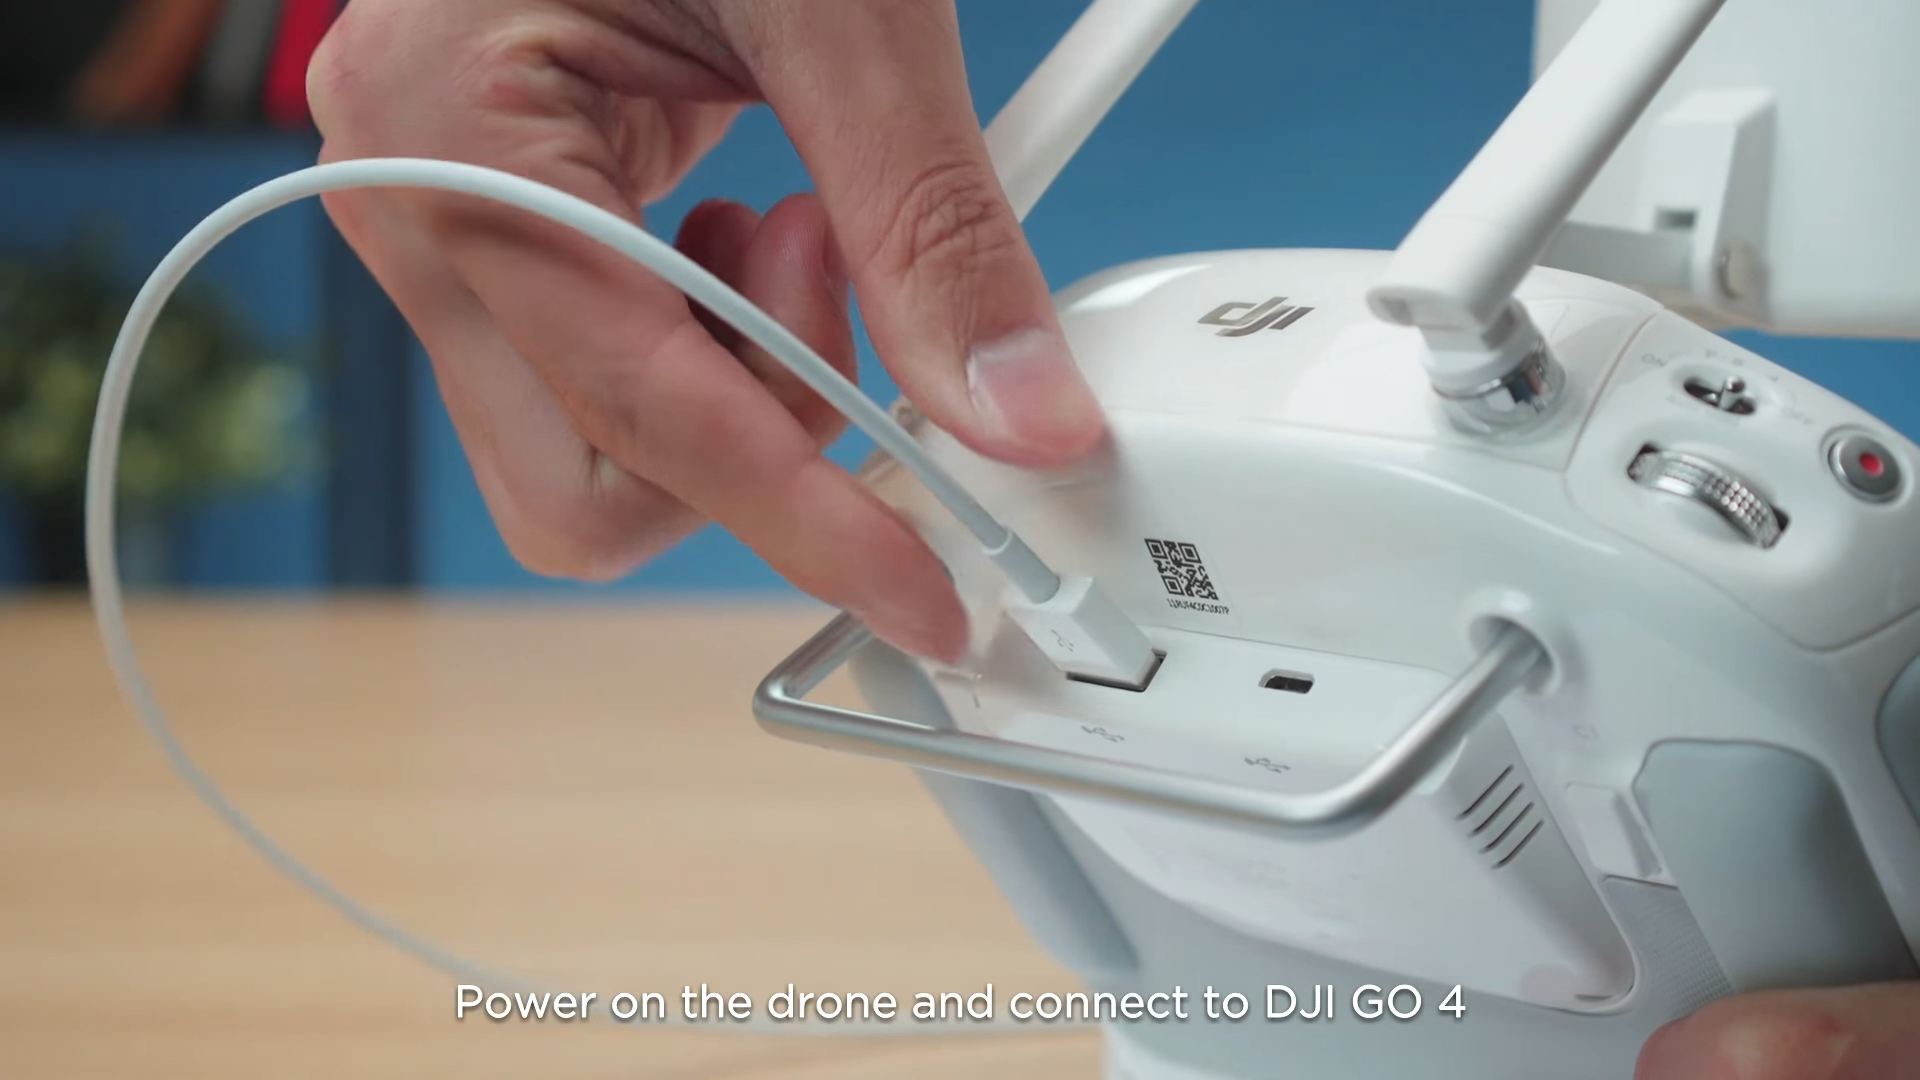
Proceed to connect the USB to the Remote Controller.
- Launch DJI GO 4 App

Start up the DJI GO 4 App.
- Go to Remote Controller Settings
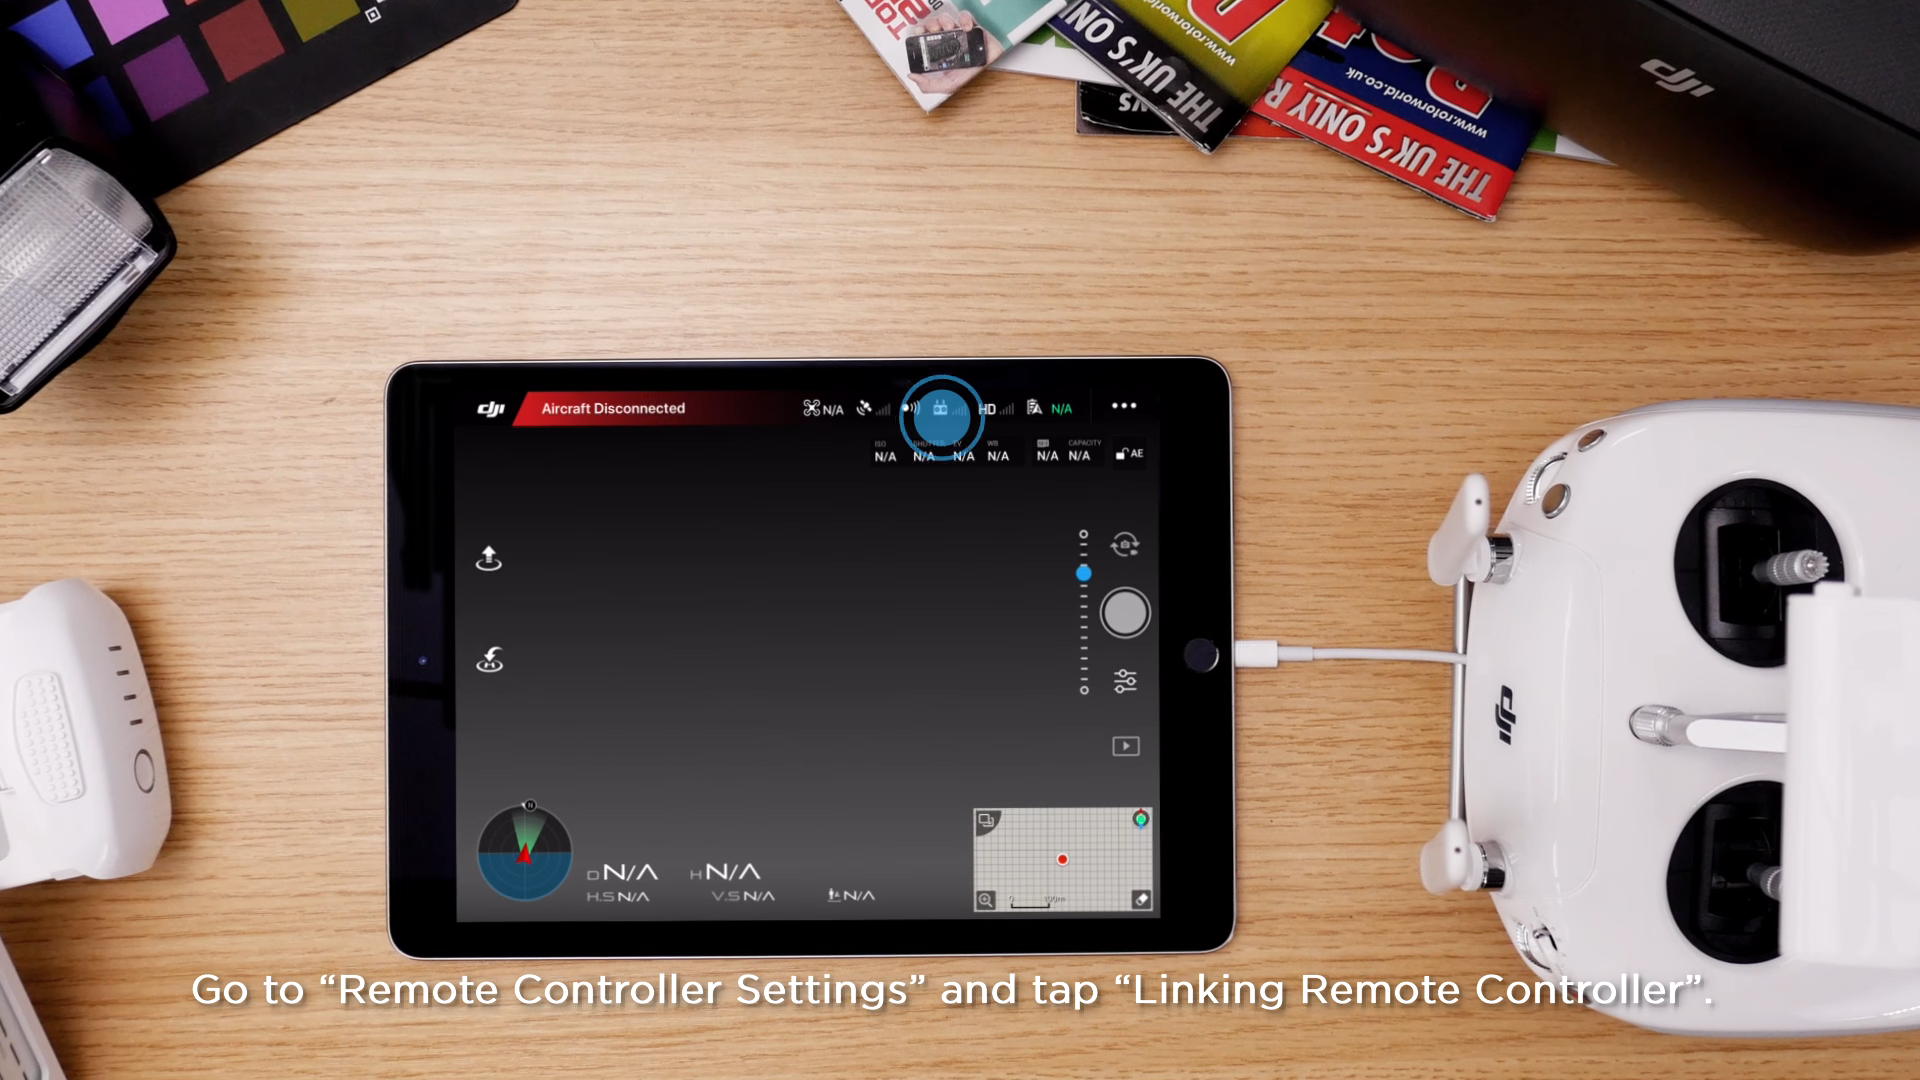
Remote Controller settings can be found in the general settings menu.
- Select Linking Remote Controller

Select the Linking Remote Controller button in the Remote Controller settings.
- Tap OK

Tap OK to start the linking process.
- Remote Controller Starts Blinking

The Remote Controller will start blinking to signify the linking process has begun.
- Push Linking Button on Aircraft

Push the Linking Button to start the linking process on the DJI Phantom 4.
- Linking is Complete

The linking process will now be complete.
Once you've completed the steps above the DJI Phantom 4 V2.0 will be linked successfully.
If the DJI phantom 4 doesn't link you can give us a call or email us for direct support and advice.
Heliguy™ has a dedicated team of drone experts ready to take your call or respond to your emails.

Leave a comment