
The DJI Phantom 4 RTK will need the IMU calibrated from time to time if you're switching locations frequently. The IMU is a critical component to keeping your drone straight and level in the air.
Typically, a IMU calibration prompt will be displayed on the main screen. However, if this doesn't happen you'll have to do it manually through the Advanced Sensor Settings.
Let's jump into this fast Heliguy™ tutorial and learn how to manually calibrate the DJI Phantom 4 RTK IMU.
- Remove Propellers

It's best to remove the propellers before you begin the calibration process as you'll be rotating the DJI Phantom 4 RTK in later steps. - Power on Aircraft

Press and hold the Power button to start the DJI Phantom 4 RTK.
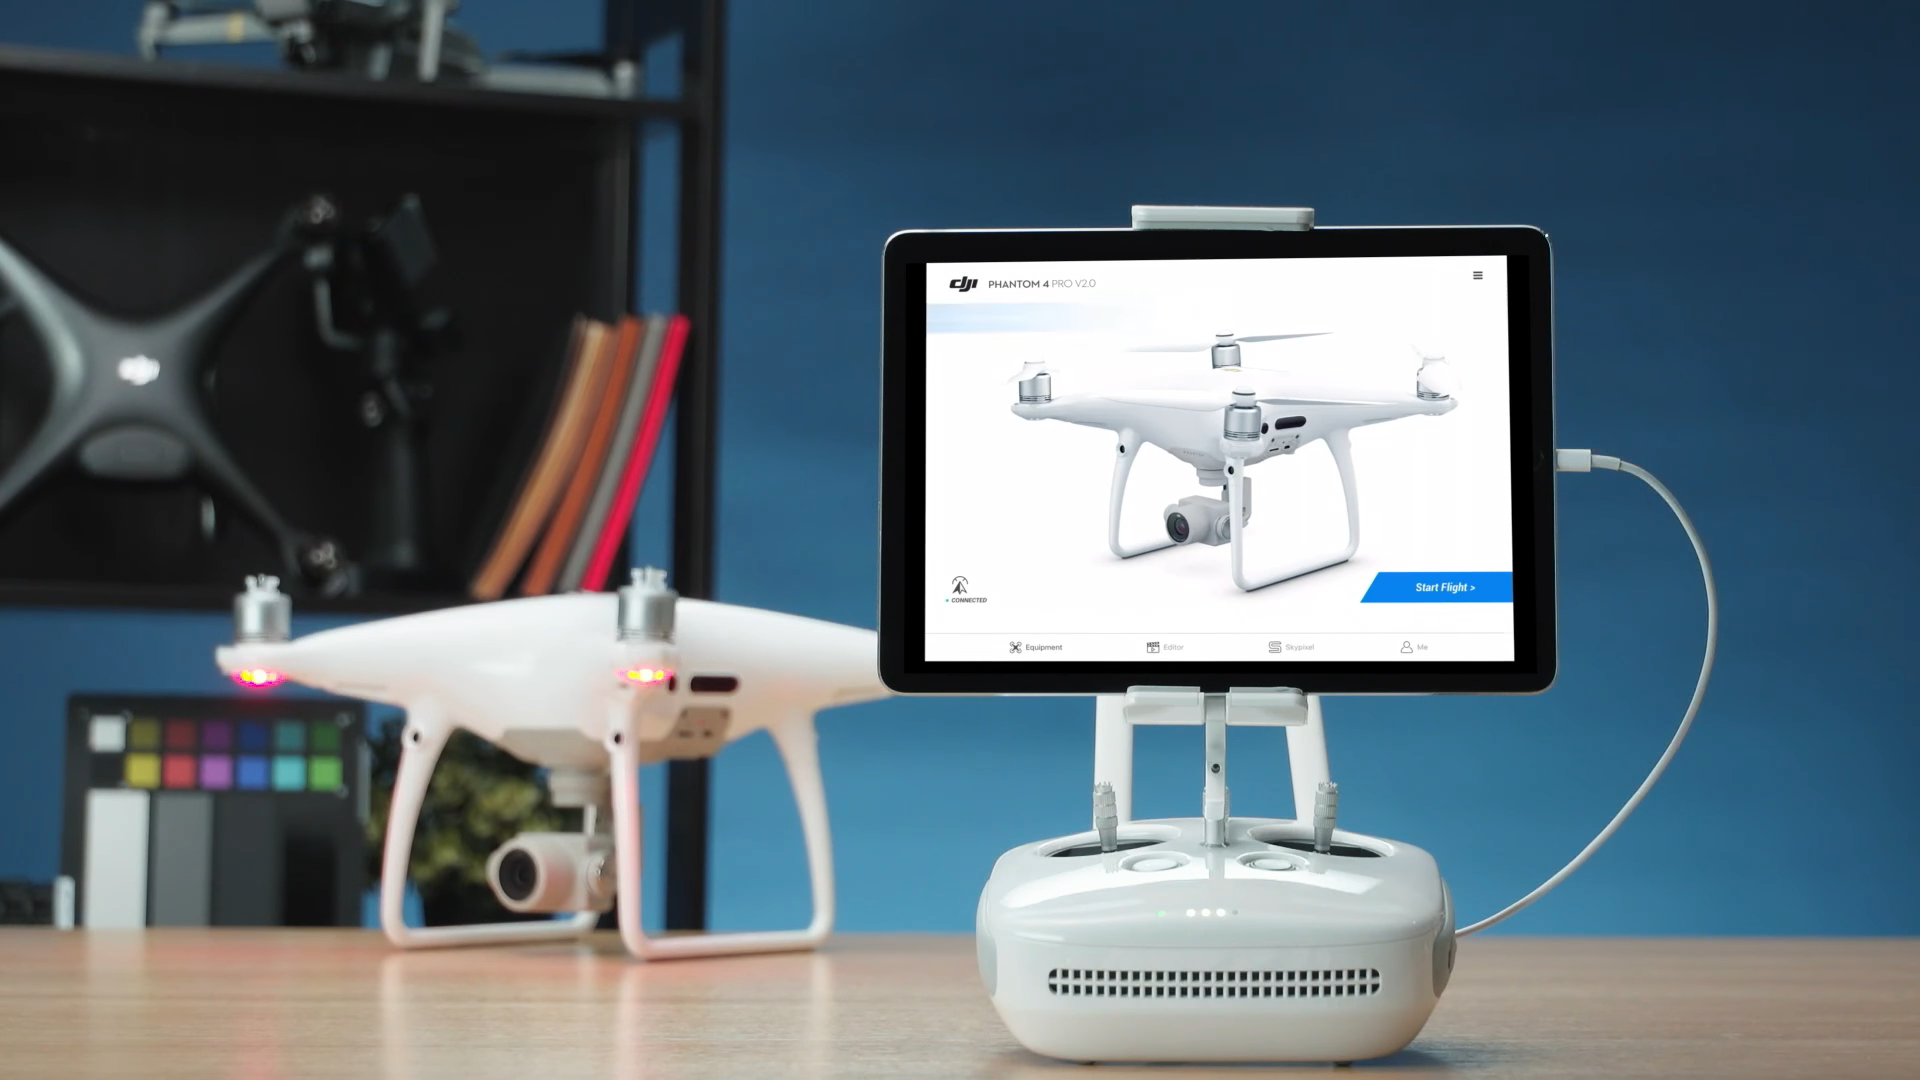
- Connect Device to Remote Controller
To start the calibration process you must connect your device to the remote controller first.
- Connect USB to Device

- Connect USB to Remote Controller
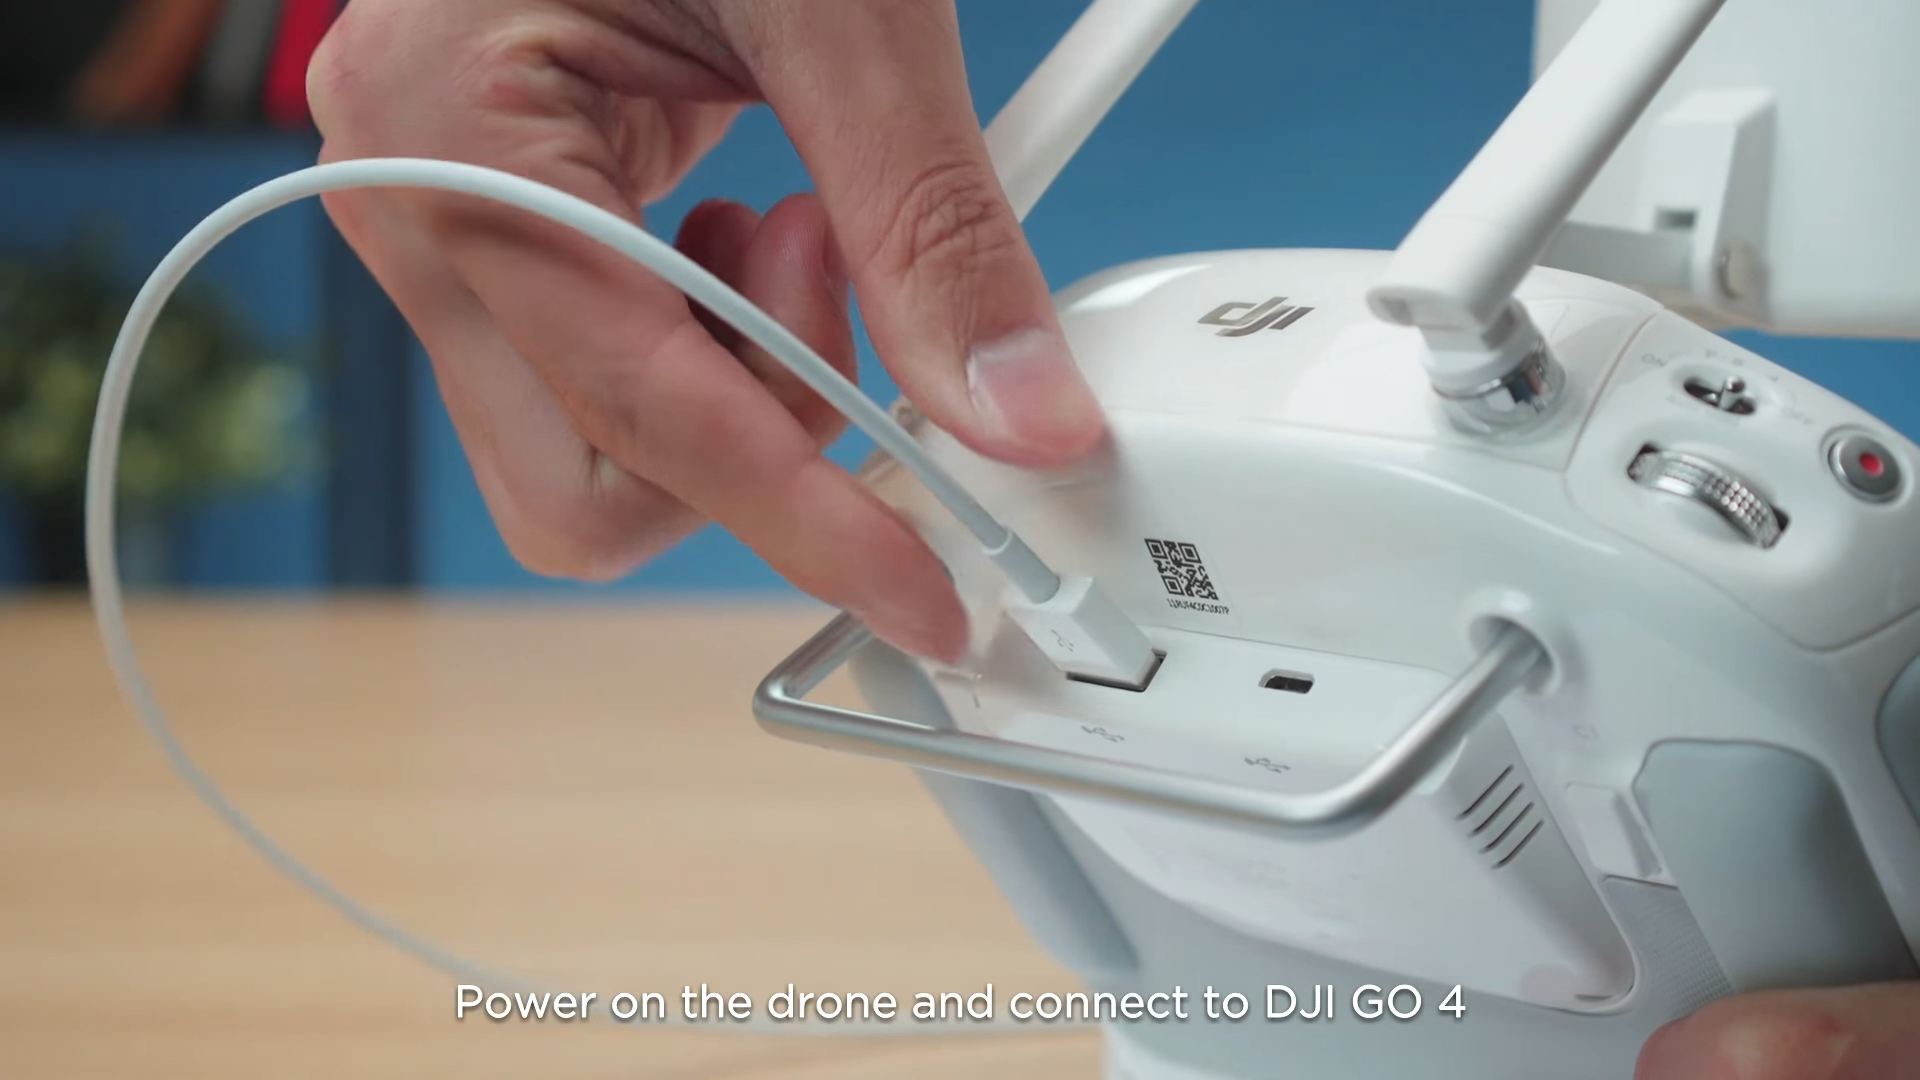
- Connect USB to Device
- Launch DJI GO 4 App
- Go to Main Remote Controller Settings
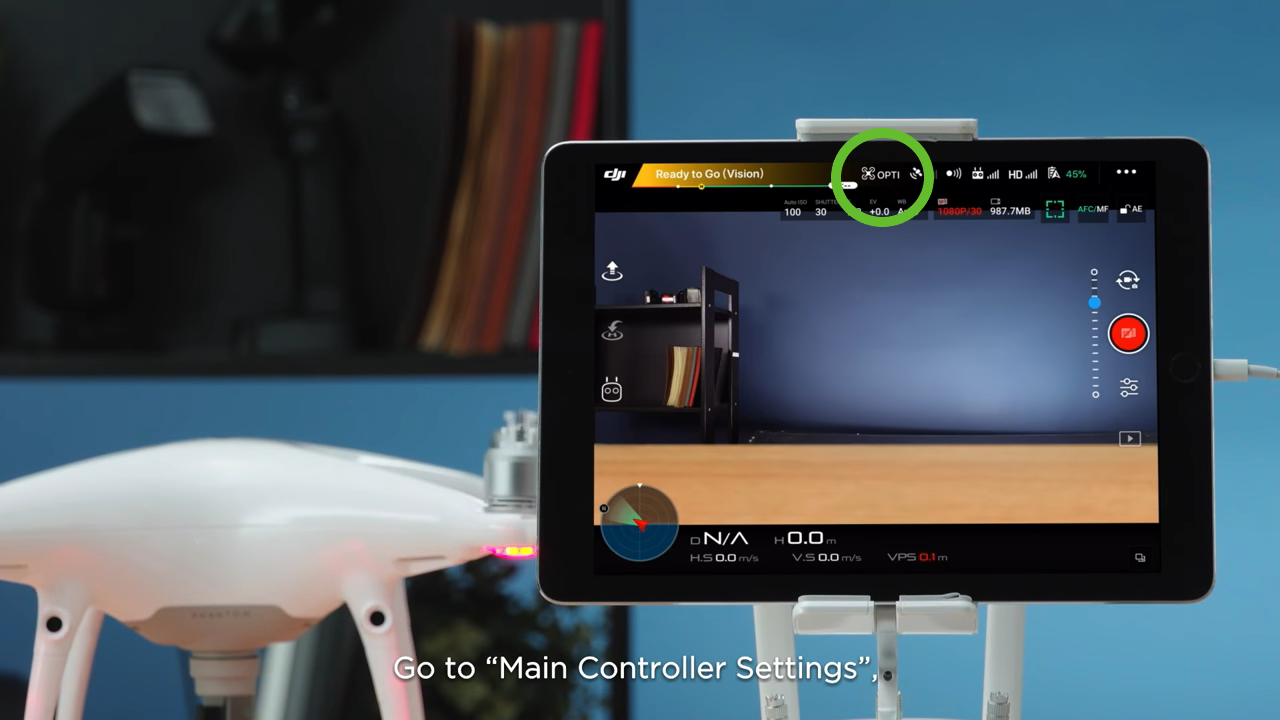
- Click Advanced Settings

- Select Sensors

- Tap Calibrate IMU
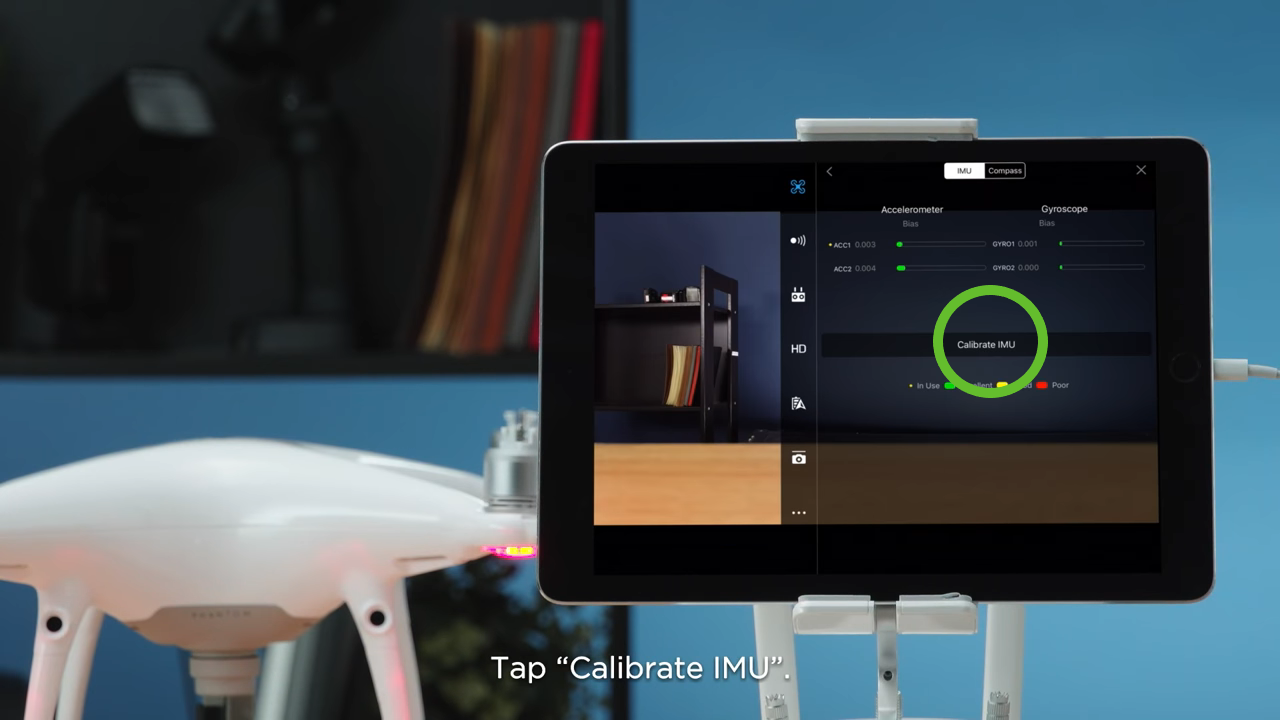
- Click Start

Clicking Start will begin the calibration process.
- Follow Onscreen Instructions

You'll now be taken through a series of onscreen instructions which you must follow to calibrate the DJI Phantom 4 RTK.
- Restart the Phantom 4 After Calibration

After you have completed the following step continue to restart the DJI Phantom 4 RTK aircraft to complete the process.
That's all there is to it. The DJI Phantom 4 RTK is an incredible drone that requires occasional IMU calibration.
Conduct missions with peace of mind with a fully calibrated DJI Phantom 4 RTK IMU.
If you require any addition support be sure to give us a call or email us. Our team of expert drone specialists are here to help.

🙏Thank you very helpful.
Thanks for the info, n00b here and much appreciated!
Leave a comment