
Charging the DJI Mini 2 is super simple and easy to do with this fast Heliguy™ tutorial.
In this tutorial you'll learn how to charge your new DJI Mini 2 via the aircraft or the Battery Charging Hub.
- Insert Battery
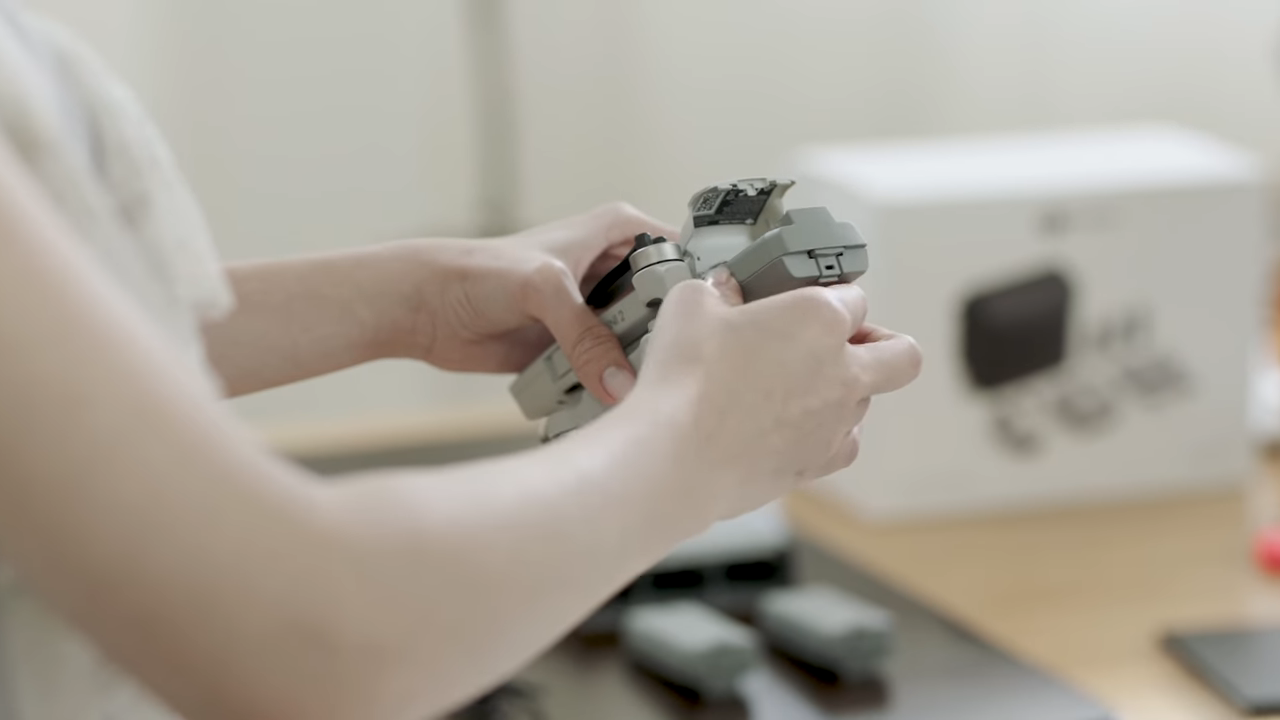
Place the Intelligent Flight Battery into the DJI Mini 2 through the back battery port. You'll hear a clicking sound that indicates the Intelligent Flight Battery has been fully inserted into the Battery Port.
- Close Battery Port

When closing the Battery Port ensure the Intelligent Flight Battery is fully inserted. You'll hear another click when the Battery Port flap is fully sealed.
- Connect Charging Cable

You can now use a Type-C charging cable to connect directly to the DJI Mini 2 to begin the charging process.
- Connecting to Battery Charging Hub

An additional way to charge the Intelligent Flight Batteries is to connect a Type-C charging cable to the Battery Charging Hub.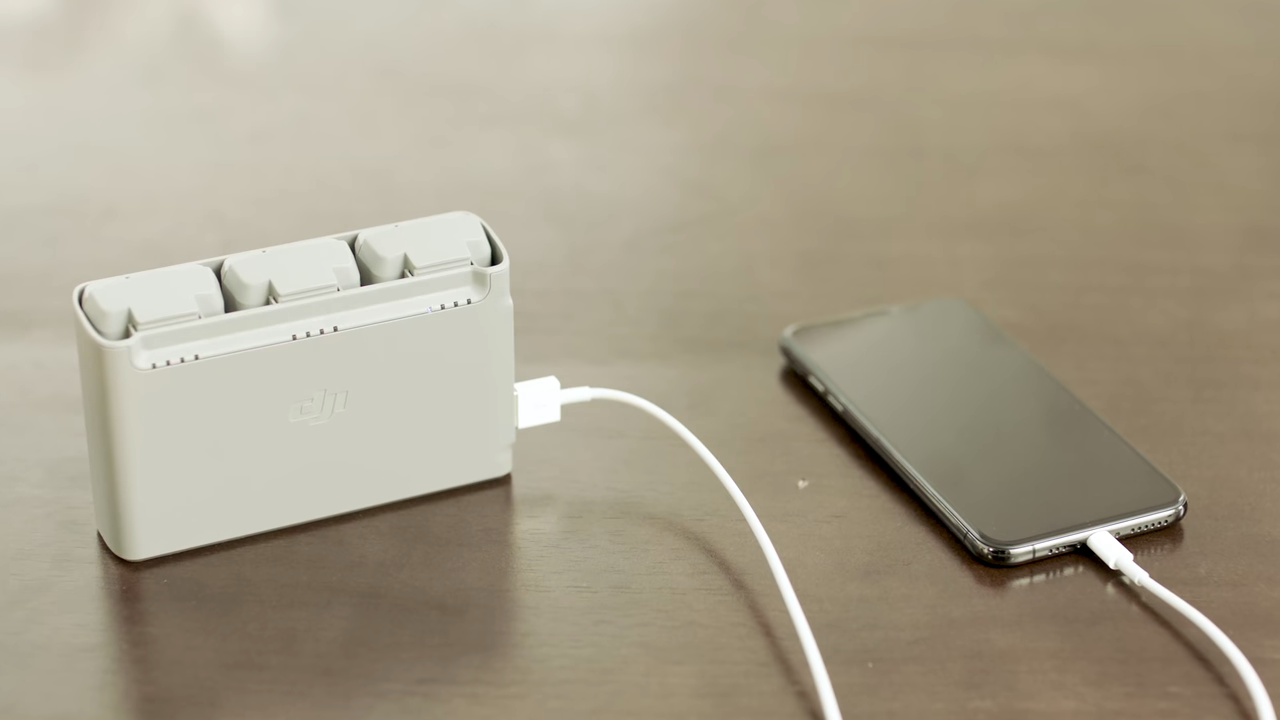
The Battery Charging Hub can also double as a portable charger for your devices via a USB cable.
- Connecting to Battery Charging Hub
- Allow for Charging

Let the DJI Mini 2 charge fully to ensure you get the most out of your Intelligent Flight Battery.
Get out and start flying when the Intelligent Flight Battery is charged and begin enjoying the DJI Mini 2.
You'll experience an awesome 31 minute flight time thanks to the new upgraded motors.
Be sure to give us a call or email us if you need any support during your drone journey.

Leave a comment