
The DJI Mavic 2 will need activating prior to take-off in order for it to fly efficiently.
In this HELIGUY.com™ tutorial you will learn how to efficiently activate your DJI Mavic 2.
How to Activate the DJI Mavic 2 Drone for the first time
- Start Up and Fully-charge Battery.

You will need your battery fully charged to proceed with activating your DJI Mavic 2.
- Connect Phone To Internet.

The DJI Mavic 2 needs connect to the internet during activation.
- Connect Phone To Remote Controller.

The remote control has clamps to connect your mobile phone safely.
- Turn On Remote Controller.

Click and hold the top right Power button to power up the remote controller.
- Turn On DJI Mavic 2.
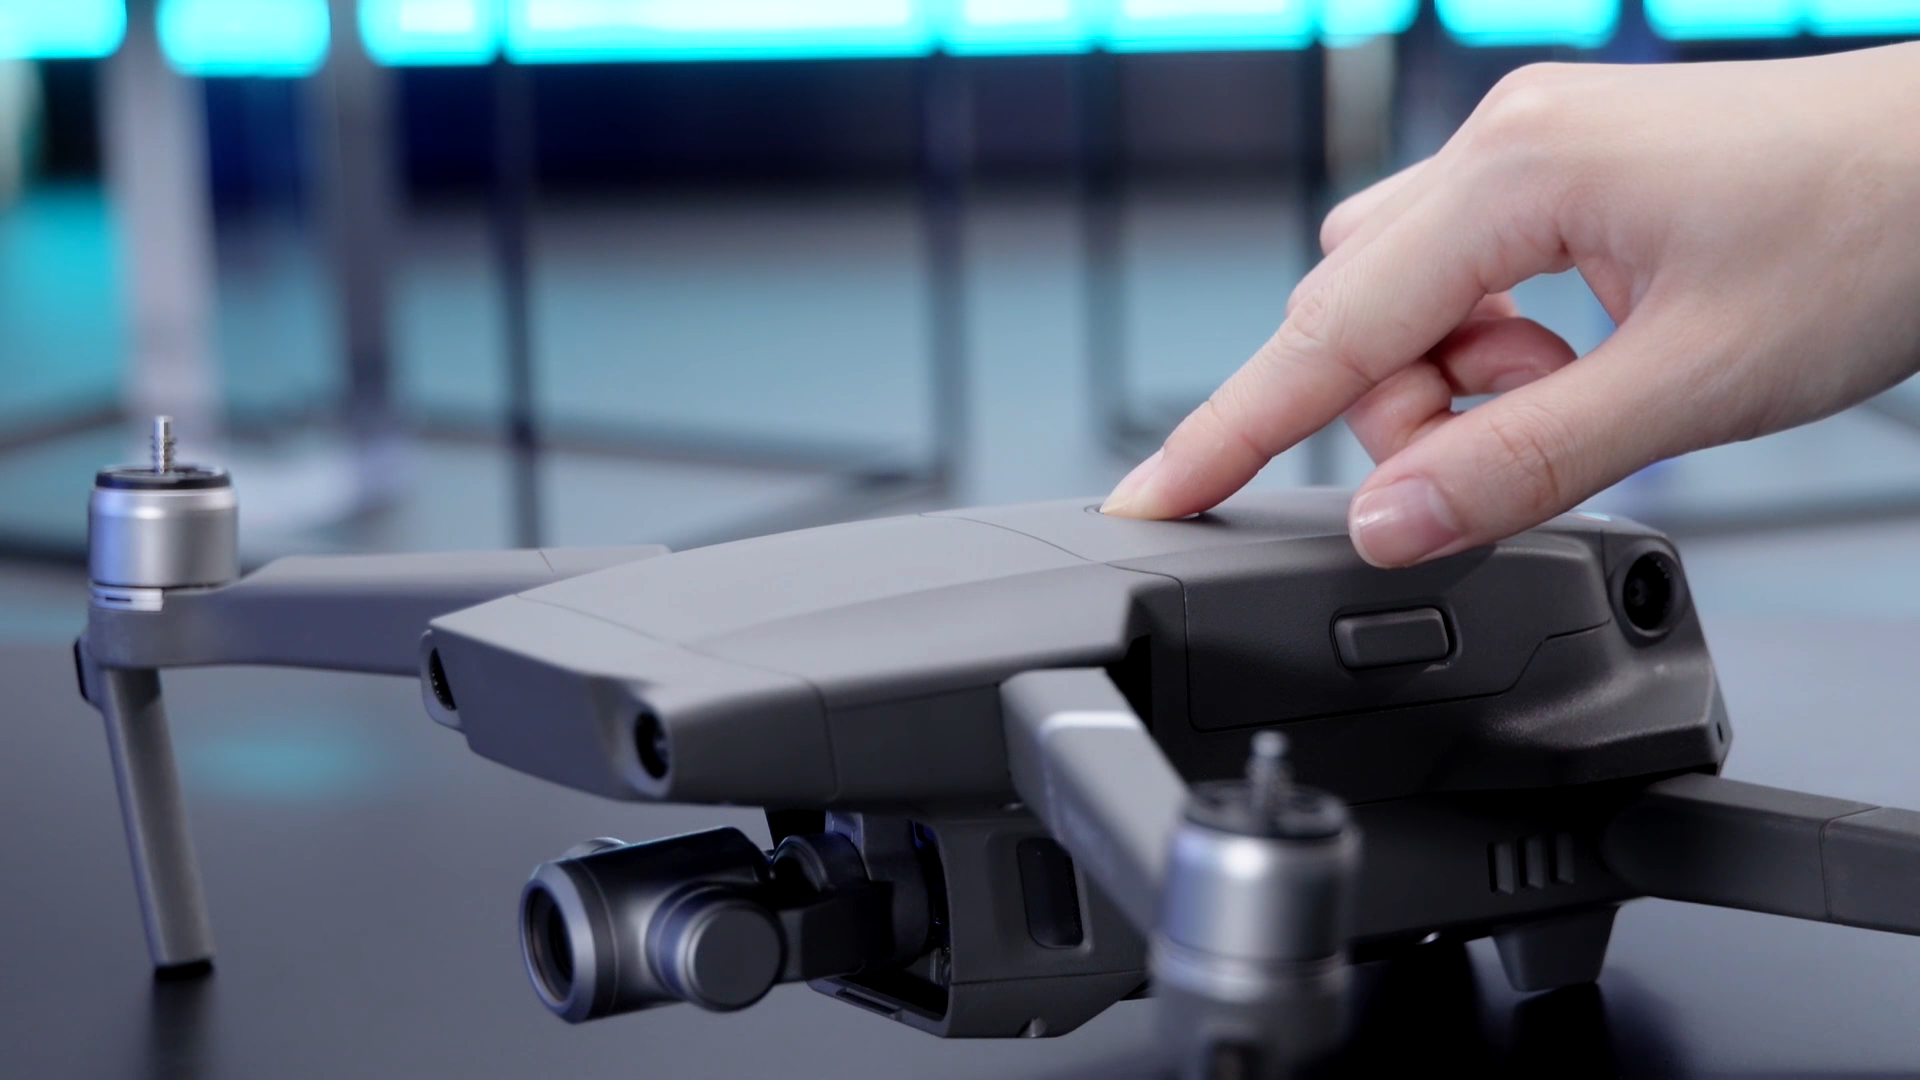
Press and hold the Power button on the Mavic 2, found on the battery on top of the aircraft.
- Open DJI GO 4 App And Press Next.

Start up the DJI GO 4 App and click Next.
- Name Your Aircraft.

You now have the option to name your aircraft. This will help when identifying your DJI Mavic 2 from others.
- Set Up Joystick Mode.

You can select the joystick mode which most suits your flying preference.
- Customise Buttons.

Customisable buttons will now appear on the screen for you to change.
- Select Measurement Units.

It's important to remember which units you are using whilst flying. When different units are used, the overall distance from objects will change, not all units are equal.
- Create And Confirm DJI Account.

Create and confirm a DJI account to proceed. - You're Ready To Fly.

Once the following steps have been conducted it's now time to fly.
After activating the DJI Mavic 2, take advantage of all of the drone's unique features. The intelligent flight modes create impressive content and make flying easy.
If you require any help or need support during your drone journey, be sure to give HELIGUY.com™ a call or email us.

Thank you very much for the very strait forward instructions!
Leave a comment