
Before you start flying your DJI Mavic 2 you'll need to connect it to the remote controller.
This is an easy process and takes a couple of steps to complete.
Be sure to check that your remote controller is compatible with the DJI Mavic 2 before beginning this tutorial.
Signs Your Aircraft Needs Reconnecting:
- The aircraft status indicator is blinking yellow quickly;
- Your aircraft doesn't show up on the DJI GO App.
How to connect the Mavic 2 Remote Controller
- Power on Remote Controller and DJI Mavic 2.

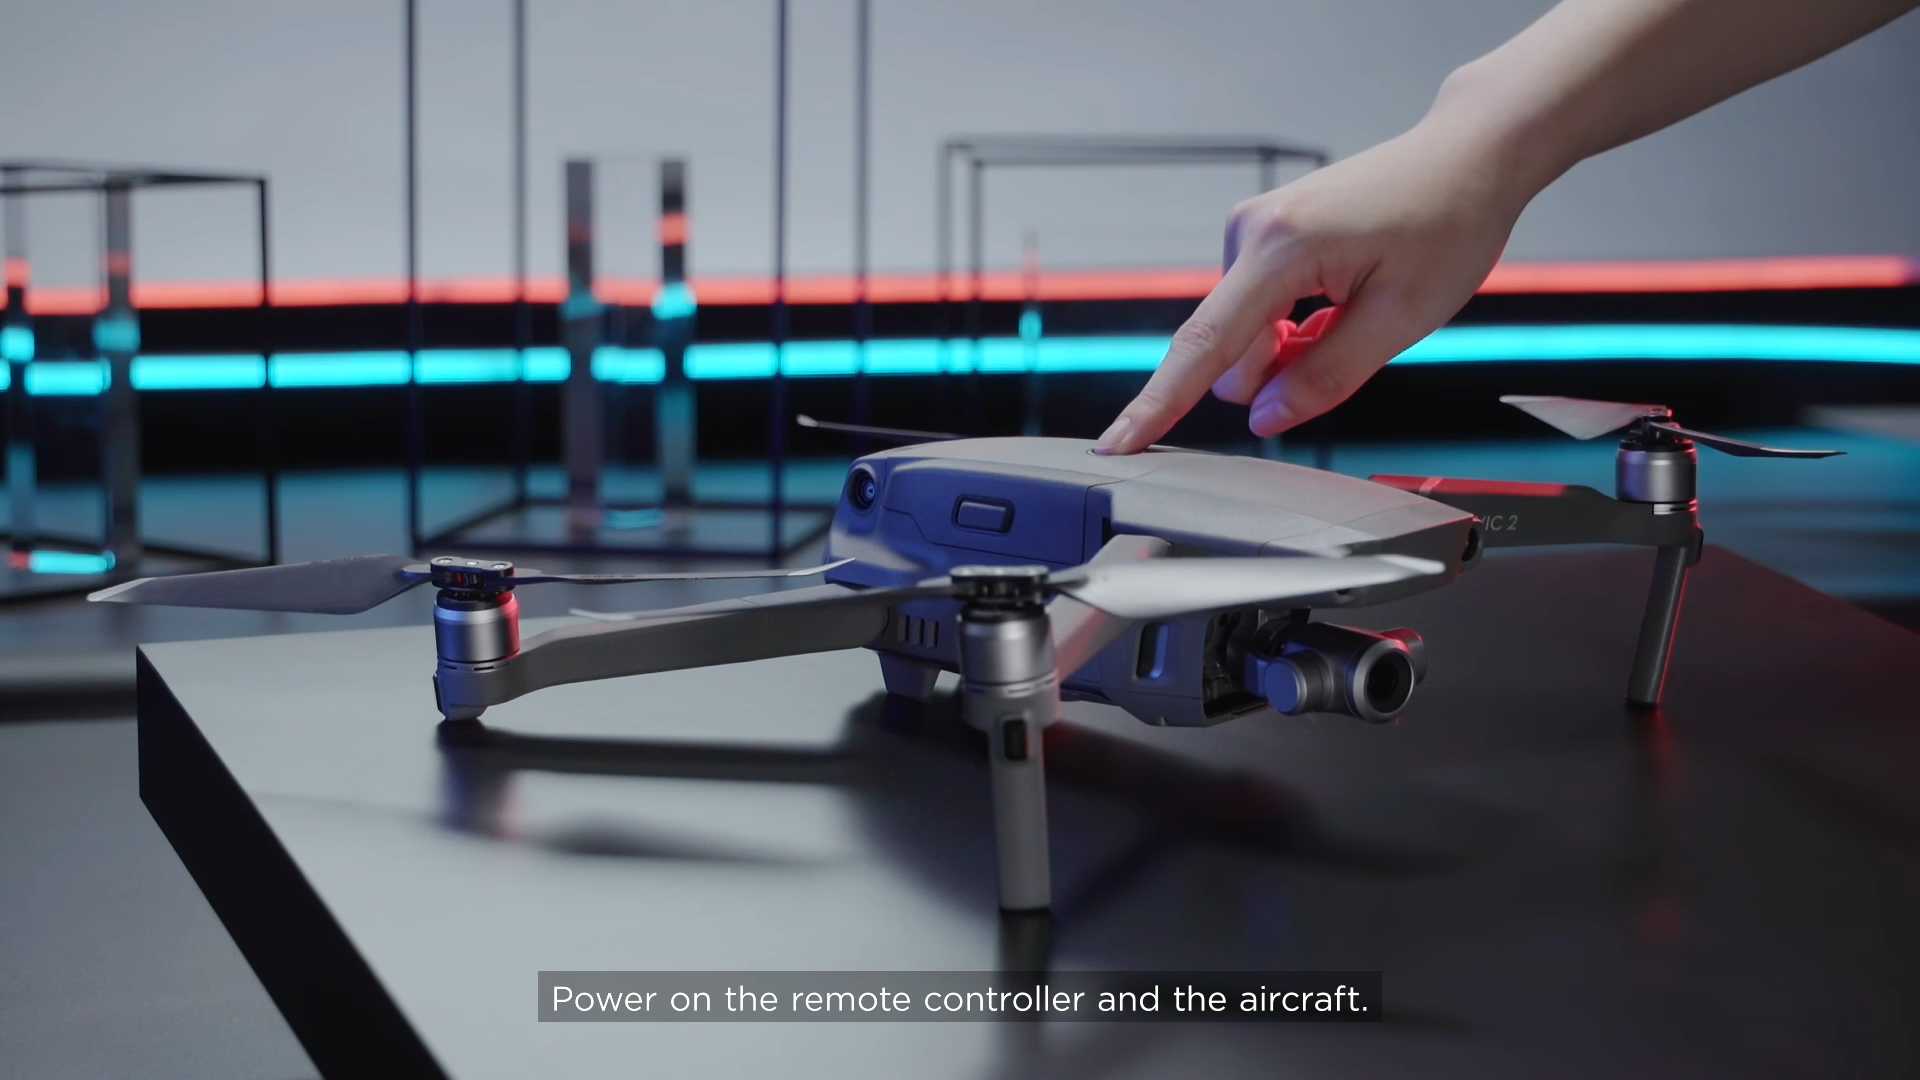
Press and hold down the power buttons on the DJI Mavic 2 and the remote controller. You should hear the iconic DJI power-up tone.
- Enter Flight Interface.

Open the DJI App and enter the flight interface to begin connecting your remote controller to the aircraft.
- Go to Settings Menu.

Jump over to the Settings Menu which is located in the top right corner of the flight interface.
- Select Remote Controller Settings.

Once in the Settings Menu, go to Remote Controller Settings.
- Tap Linking Remote Controller.

Scroll down in the Remote Controller Settings menu to access the Linking Remote Controller option.
- Choose OK.

Select OK to continue.
- Click the Link Button on Mavic 2.

Go to your DJI Mavic 2 and press the Link button situated on the underbelly of the aircraft.
- Once Linked.

When the DJI Mavic 2 and remote controller are linked an onscreen prompt will alert you. Click OK to continue and you will be ready to fly.
In some cases, it can take a couple of tries when connecting your remote controller. This is true if you use your remote controller for multiple drones or have multiple remote controllers for one drone.
If you need any extra advice whilst linking your remote controller with the DJI Mavic 2 be sure to give us a call or email us.

Leave a comment